I've never strung one before, is there anything in particular I need to be aware of?
I would prefer to do a two piece job, it's currently strung with a one piece pattern. I saw another thread where the use of power pads in the throat was recommended, it doesn't have any in currently.
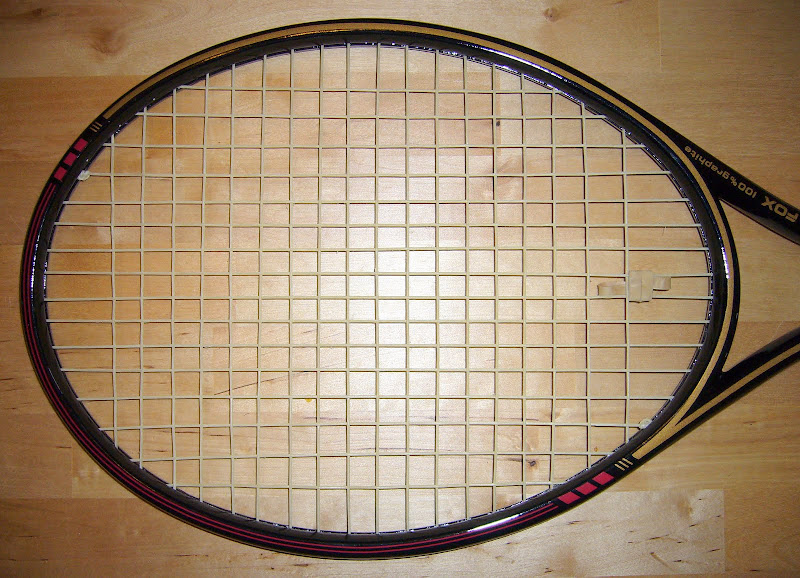
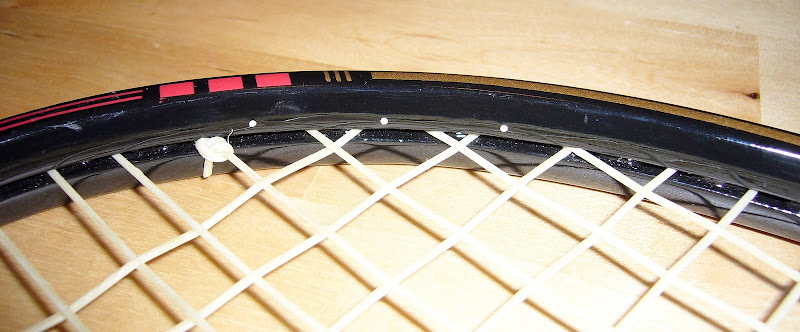
I saw that in the places where two strings pass each other at the head of the racket, the strings have been taped over to protect them from being scraped on the ground as there's no bumper guard.
I would prefer to do a two piece job, it's currently strung with a one piece pattern. I saw another thread where the use of power pads in the throat was recommended, it doesn't have any in currently.
I saw that in the places where two strings pass each other at the head of the racket, the strings have been taped over to protect them from being scraped on the ground as there's no bumper guard.
Last edited:
 I had a look at the pattern you sent and couldn't figure out how I would pull tension but I'm watching the Isner/Anderson match at the same time ...